Taking Screenshots of UAC Prompts with WinSnap
Taking screenshots of UAC prompts in Windows 7 and Vista is often needed in different tutorials, step-by-step installation instructions and various application setup guides. Though, it is not a simple task to do and requires a little bit of effort.
UAC (User Account Control) is a security technology first introduced in Windows Vista. It aims to provide better security by popping up a dialog asking to raise privileges for certain applications. If a user authorizes the application, it receives requested privileges and runs. Otherwise, in case of some malicious software, for example, the execution is terminated.
Problem to Capture UAC
UAC prompts are shown in a Secure Desktop mode. The entire screen is temporarily darkened and other applications are blocked, and a UAC dialog pops up requesting the elevation of privileges for the given application. Secure Desktop makes it impossible for other applications to interact with UAC windows for security reasons. It also doesn’t allow taking screenshots of them directly. Hence, WinSnap and built-in Windows PrintScreen function get blocked when a Secure Desktop mode is invoked.
Solution Is Here
Despite what is said above, you can take screenshots of secure UAC prompts with WinSnap by using the following workaround.
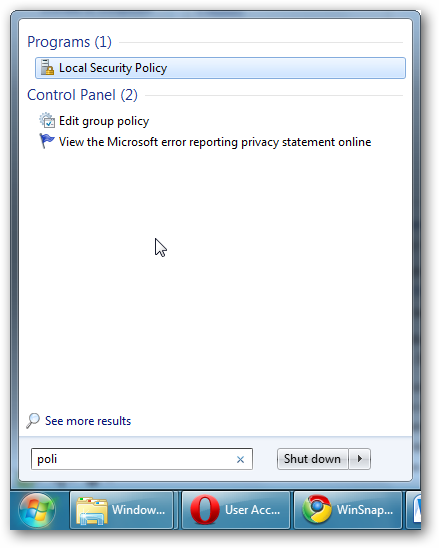
Step 1: Open the Start menu and find Local Security Policy there.
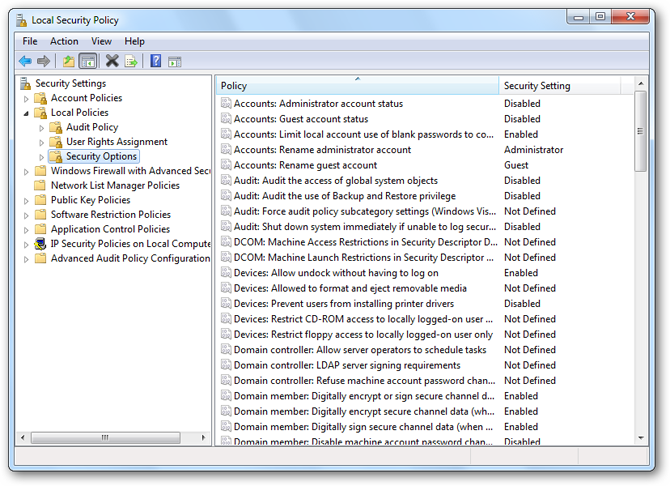
Step 2: Expand the Local Policies node under the Security Settings.

Select the Security options node as shown below.
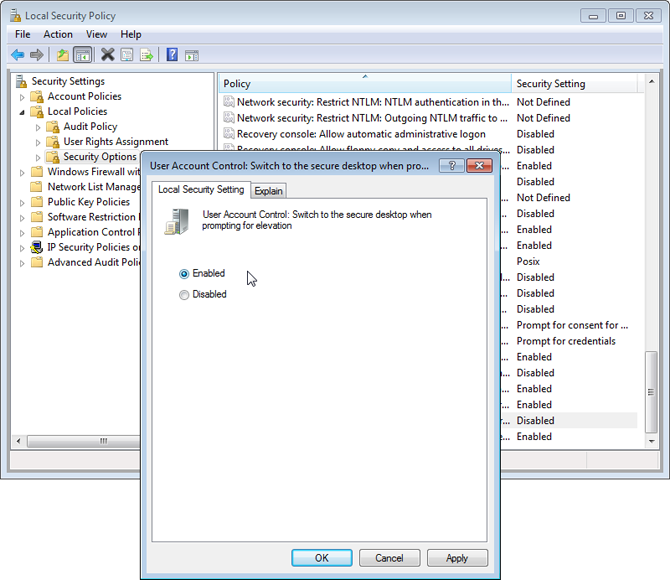
Step 3: Scroll down, find the “User Account Control: Switch to the secure desktop when prompting for elevation” option, and double-click it.
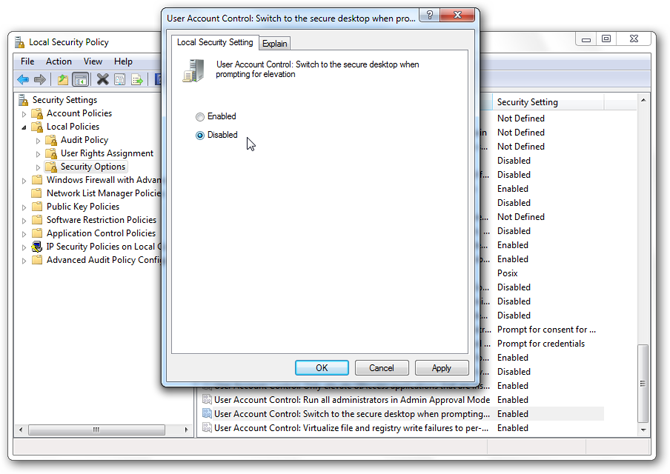
Then set it to “Disabled” and click OK.
The above steps will disable the Secure Desktop mode, and UAC prompts will be shown on the default desktop after that. So, we are able now to capture a UAC dialog with WinSnap the same way as a regular window.
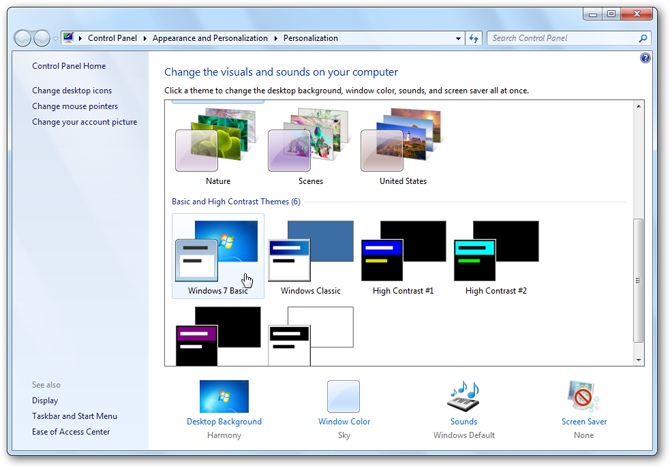
However, there is one more glitch we should fix first. A UAC dialog we’ve got is shown with Aero enabled, while in a Secure Desktop mode it is displayed without the Aero theme.
Step 4: Simply go to the Windows “Appearance and Personalization” settings and switch to the Basic theme.
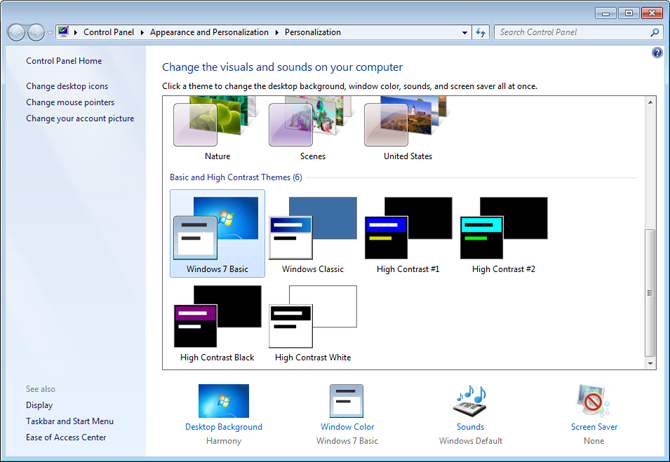
Well done! Now UAC dialogs look exactly as they are in Secure Desktop mode.
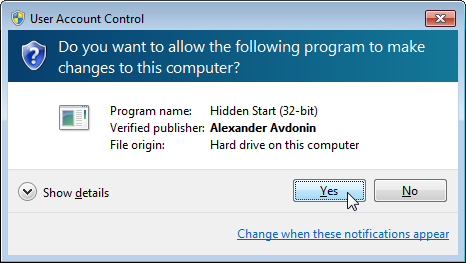
And you can capture them with WinSnap or another screen capture utility.
Step 5: Go to Local Security Policy and enable the “Switch to the secure desktop when prompting for elevation” option back.
Important Note
Turning the Secure Desktop off is a significant security breach, so don’t forget to turn it back on as soon as you finish taking screenshots of UAC dialogs.
Sample Screenshots of UAC
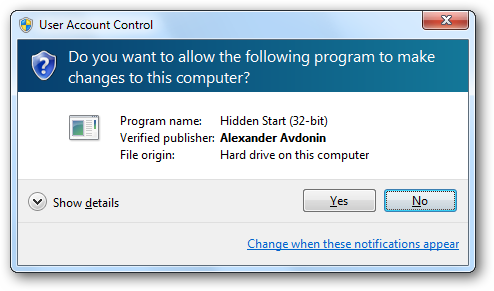
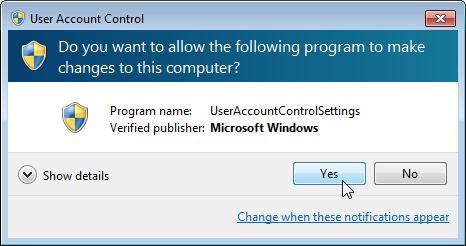
Below are a few sample screenshots of UAC prompts taken on Windows 7. The first screenshot shows the standard UAC prompt for administrators.
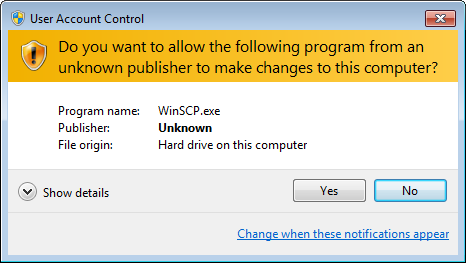
Orange color indicates that the application is not digitally signed.
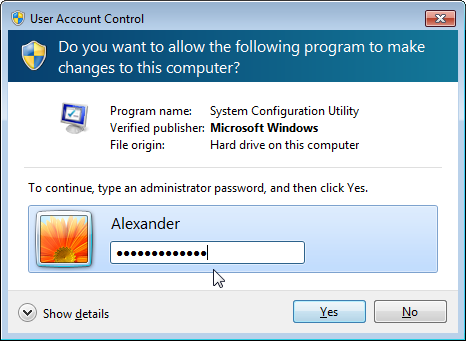
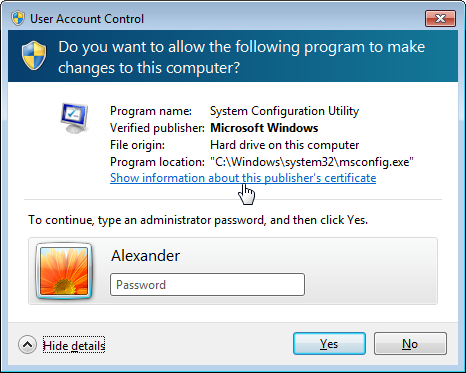
UAC prompt for standard users has the password box.
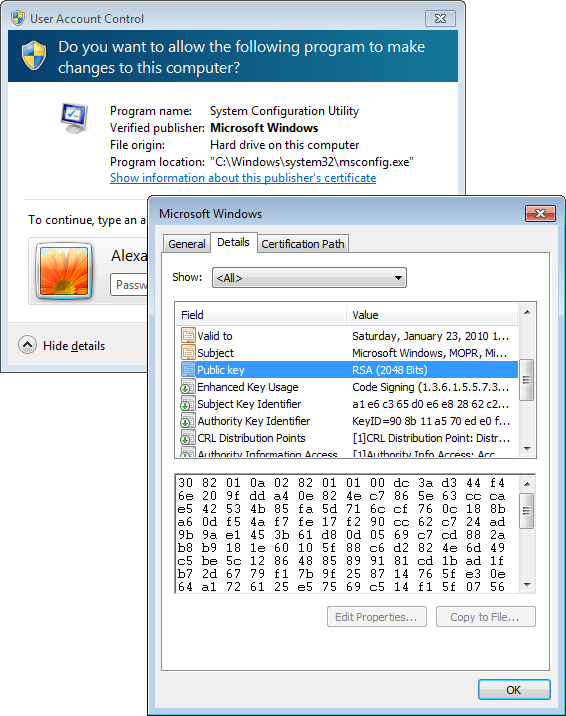
Click "Show details" and then "Show information about this publisher's certificate":
Publisher certificate details should look like the following:
Use WinSnap to take screenshots for your tutorials with ease!
Quick Links
- WinSnap Home Page - Screenshots and Feature Highlights
- Download WinSnap (32-bit and 64-bit) - free trial
Home • Tutorials • Taking Screenshots of UAC Prompts with WinSnap