How to Take Screenshots with WinSnap
If you are new to WinSnap, please read these quick start step-by-step tutorials to familiarize yourself with the program. There are several possible ways to take a cool-looking screenshot with WinSnap.
Step 1: Run WinSnap either from the Start menu, or with a desktop shortcut.

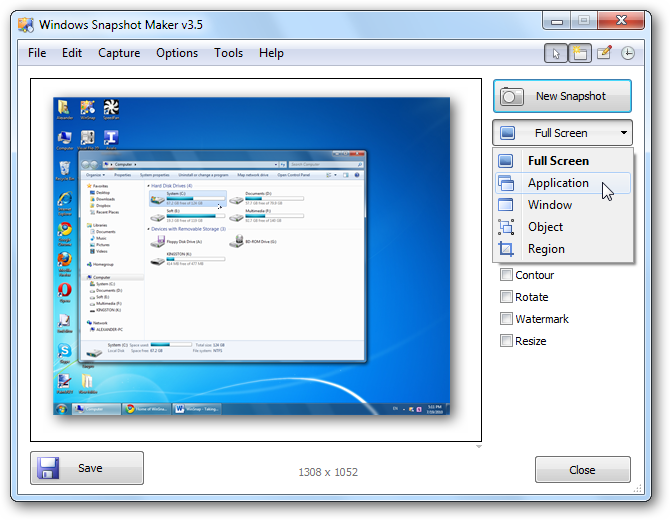
Step 2: Select the desired capture mode with the drop-down menu:
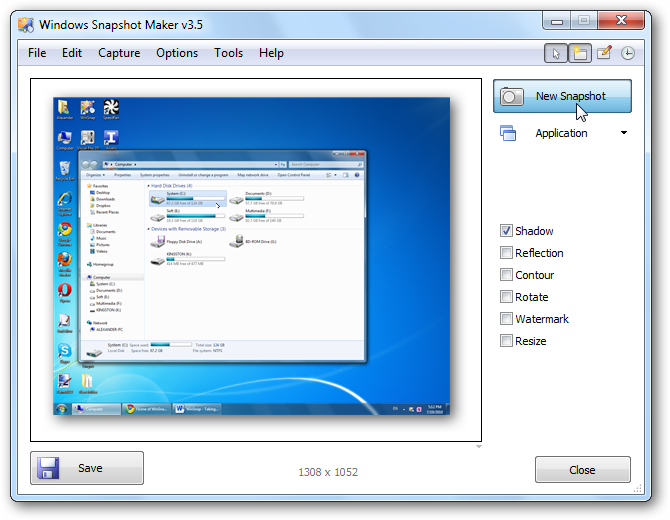
Step 3: Click the “New Snapshot” button to take a screenshot with the selected capture mode. Note that WinSnap hides automatically; you don’t need to explicitly minimize it.
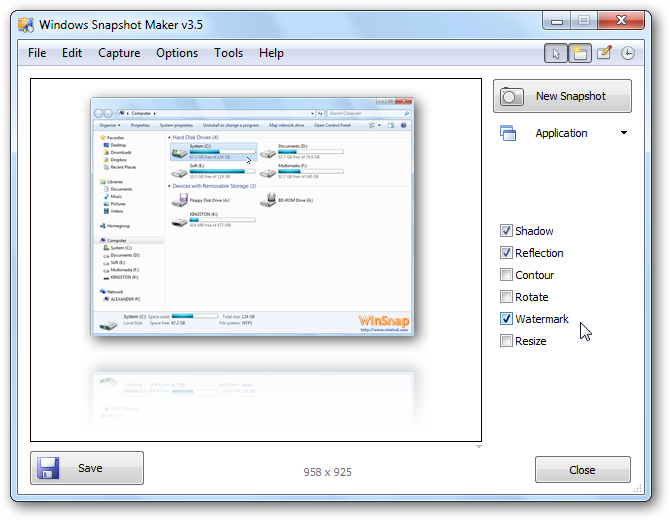
Step 4: Once the shot is done, apply the post-effects of your choice: add the drop shadow, reflection, watermark with your own logo and/or text, etc.
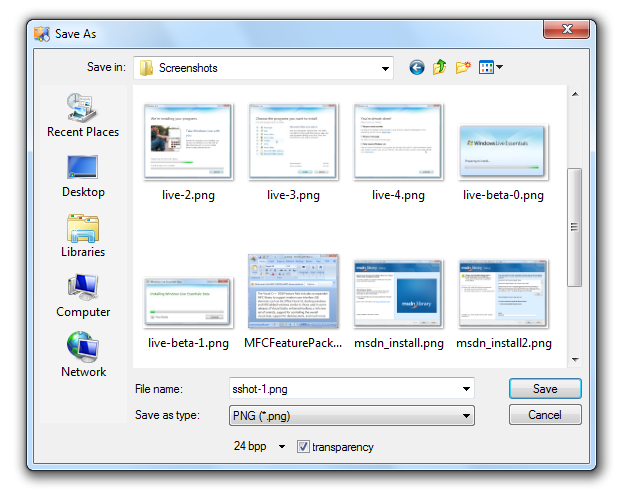
Step 5: Click the “Save” button to save the screenshot under the chosen name and the image format.
Note that WinSnap features a number of post-processing effects you can automatically apply to your screenshots.
Method 2 - Tray Icon & Windows 7 Taskbar
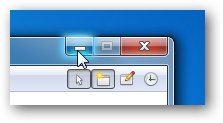
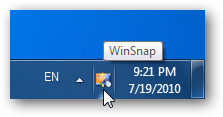
Step 1: Run WinSnap and minimize it. While WinSnap is active, you can do it by clicking the Minimize button in the upper-right corner of the window, or by pressing the ESC key on your keyboard.
Step 2: Prepare the application you want to make a snapshot of, that is: place all of the application windows properly on the screen, open a dialog and so on.
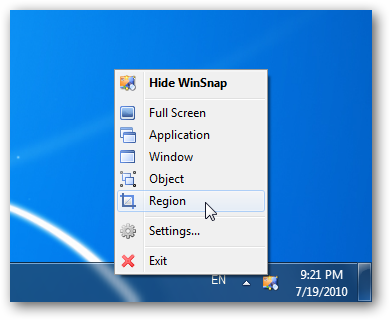
Step 3: Right-click the WinSnap tray icon and select the desired capture mode.
Note: If you are on Windows 7, you can pin WinSnap to the Windows 7 Taskbar and open the task menu by right-clicking the WinSnap icon or moving the icon upwards with a left click:
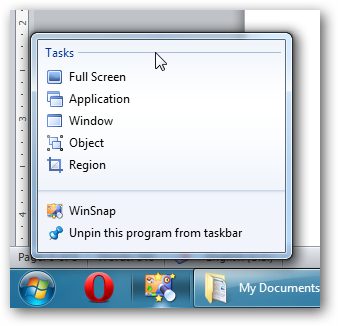
Learn more on how WinSnap supports Windows 7 features →
Step 4: Apply post-effects if needed.
Step 5: Click the “Save” button to save the captured screenshot.
Another way to take screen captures quickly is by minimizing WinSnap and using the keyboard shortcuts as follows below.
Method 3 - Keyboard Shortcuts
Step 1: Run WinSnap and select the desired capture mode. After doing this, minimize (do not close) WinSnap.
Step 2: Prepare the application you want to make a snapshot of, that is: place all of the application windows properly on the screen, open a dialog and so on.
Step 3: Press the Print Screen key to take a snapshot using the currently selected capture mode or use keyboard modifiers to take a shot in a particular capture mode.
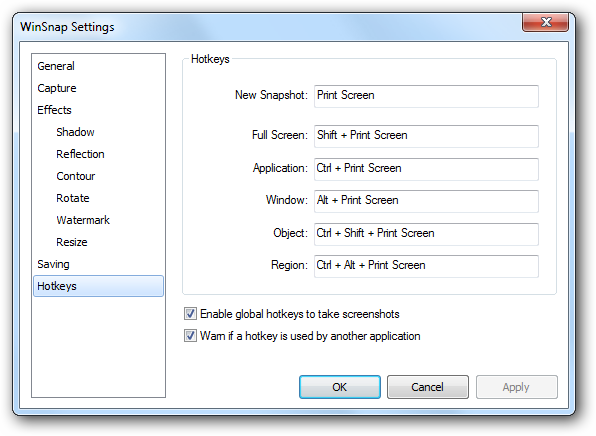
Learn more about WinSnap keyboard shortcuts →
Step 4: Apply post-effects if needed.
Step 5: Click the “Save” button to save the captured screenshot.
After the screenshot is done, you can save it or copy/paste it into a document (a PowerPoint presentation or a Word document, and so on).
After Taking Screenshot
Note that a right-click on the main WinSnap window brings up the context menu:
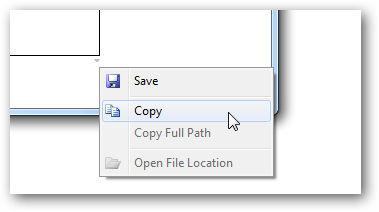
With this menu you can save the image, or copy it to the clipboard to paste it directly into a document. There are also two commands here: the “Open File Location” action opens the folder where the screenshot was saved, and the “Copy Full Path” command copies the full path to the image into the clipboard. This is convenient when you need to quickly move the image file to another location, or open it in some image editor for further processing.
Also, there are two more mouse shortcuts for the main window: a double-click on the main window saves the screenshot, while a single left-click on the preview area opens the Settings dialog. Of course, you can easily remap these bindings to other actions, they include: save the screenshot, copy it to the clipboard, save to desktop and others (Settings, General tab).